The Basics: Six Quick Checks that Can Head Off Disaster on a Boat
Where to look, what equipment to have and which procedures to practice.
While there are varying opinions on the amount and type of safety equipment boats should carry, and the procedures that go with it, boaters should give some thought to their own boats and how they use them. It’s a good idea to customize safety gear and procedures to the size and type of vessel, cruising grounds, and operator experience, and here is a good way to think about it.
Six Areas to Inspect
Preparation is the best prevention. Keeping a boat’s equipment in good working order may stave off discomfort at one end of the spectrum, catastrophe at the other. Annual and pre-departure inspections of various systems and parts of the boat will save an owner money and headaches.
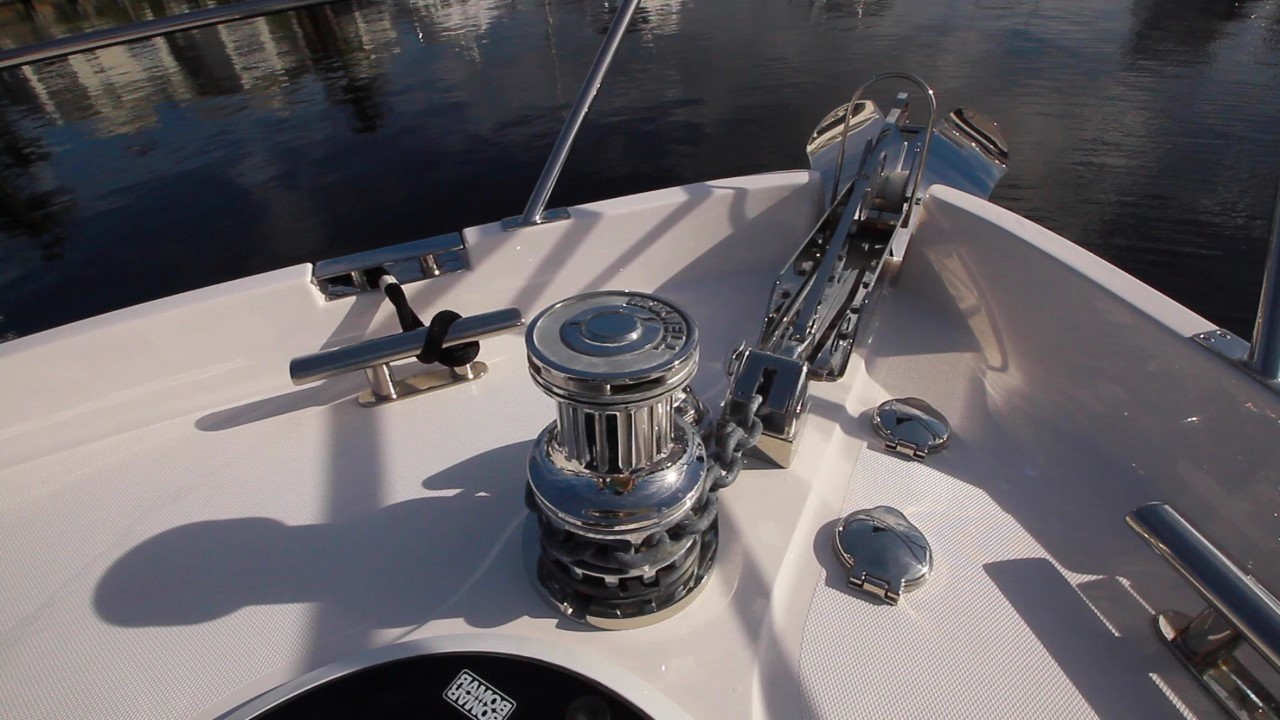
1- Ground Tackle
Spend some time on the bow and inspect what could be the cheapest insurance – your ground tackle and/or windlass. Look at the top and bottom of the bow roller(s). Do they turn? Are there any cracks in the surrounding structure? Check the anchor shackle to see if it’s still wired shut and inspect the swivel to make sure it turns freely.
Take from the anchor locker all of the chain and line and lay it out on a dock. Measure how much line or chain you have. Remember you will need 3:1 scope for a lunch hook, and 5 to 7:1 scope for serious cruising. Make sure you have enough rode and it is not snarled.
Inspect the Windlass
Take off the cover, check the pawls, lubricate necessary points and lay eyes on the wire connections. Inspect the chain and its connection to the boat. If the exposed end looks sketchy, consider cutting off a few feet. If you carry a stern anchor, dig it out of the lazarette and check it as well.
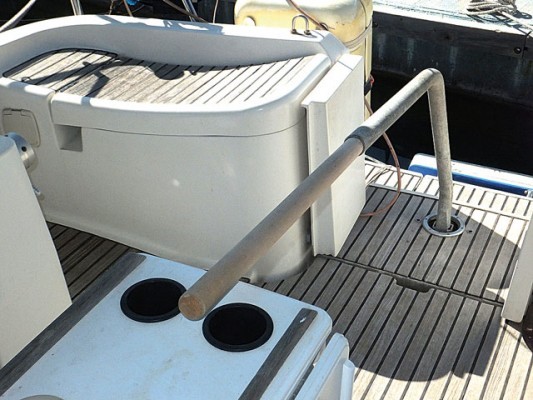
2- Steering System
There are few quick fixes for a steering failure on a powerboat, so prevention is key. Inspect the condition of the steering system, including cables and their connections, hydraulic lines, and so on. Make sure hydraulic fluid is at the proper level. When the boat is hauled, take a close look at the rudders and their posts. If the boat has pod drives, it may be worthwhile to get a professional service inspection prior to leaving on a long trip. Several boats have manual emergency tillers but few mechanical jury-rigs can handle the torque on large powerboats, so test the autopilot because in some emergencies, a boater will be able to steer with it.
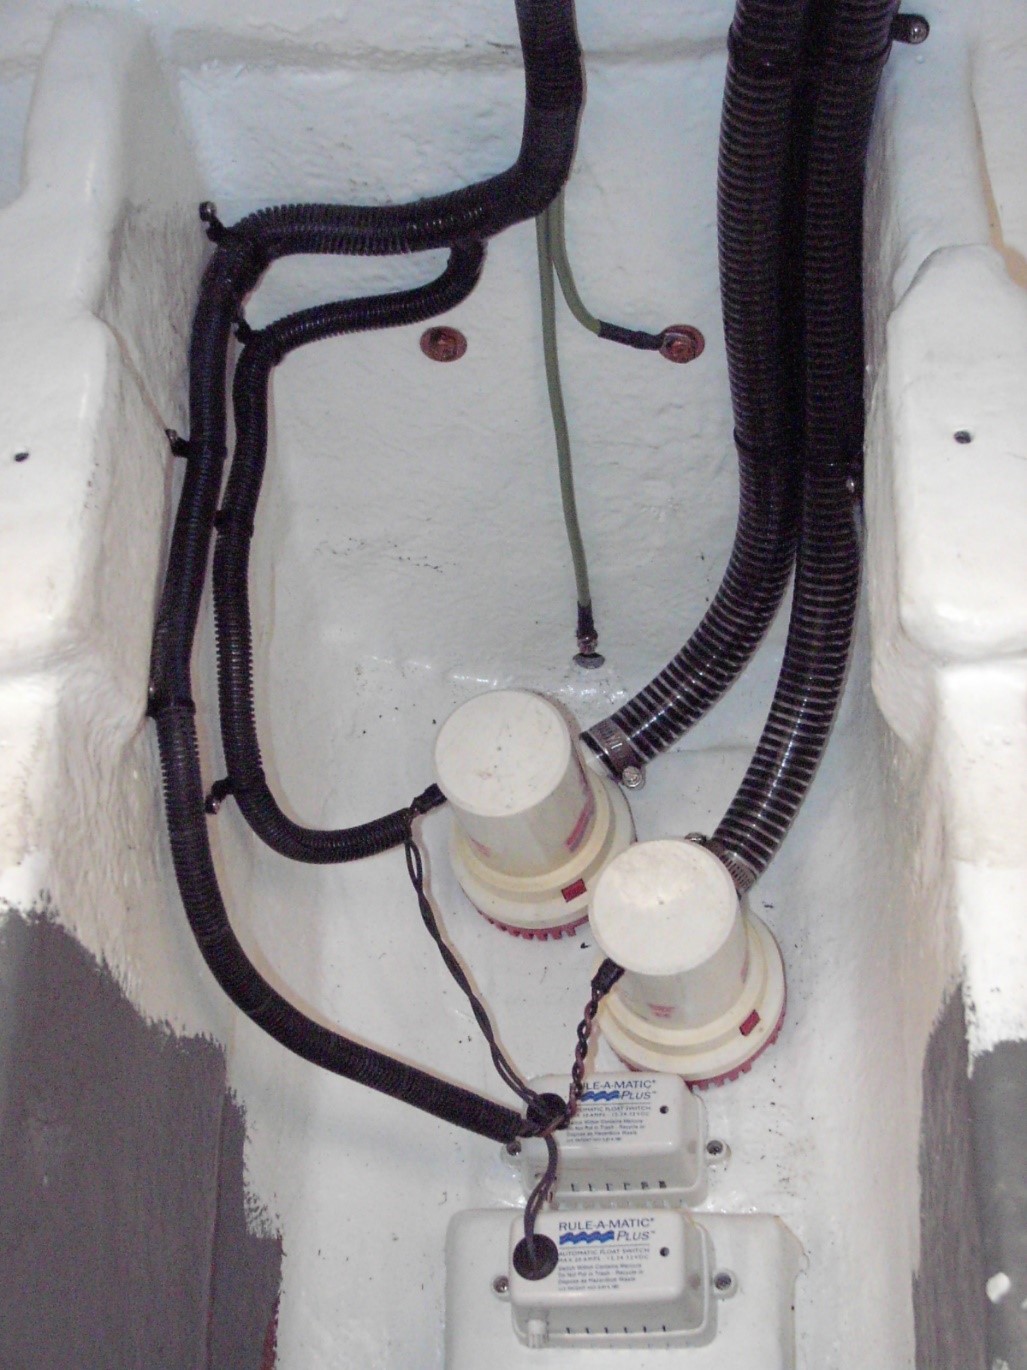
3- Bilge Pumps
A boat is loaded with pumps: fresh water, salt water, engine, A/C and others, but none are more critical than bilge pumps. Check to make sure bilge pumps are clean, in good working order, and are equipped with functioning alarms. Trace the wiring, test the float switches and carry a couple of spare pumps and switches. European boats are spec’d with manual bilge pumps, but that’s a rarity on powerboats built elsewhere, so carry a portable manual pump and have plenty of bailers. They can be a boater’s best friend.
4- Engine Room
Depending on the boat, the engine room will take the longest to inspect because there are so many systems to review. Start with hoses, which should be double-clamped. Wipe them and smell the rag to check for leaks (good fire prevention). Test the tension on the belts, the condition of the diesel fuel, (add treatment if necessary) and look for loose or corroded wire connections. Test alarm and shut-down systems on the genset and the engines. Check the condition of the raw-water strainer, baskets, and gaskets. Make a list of all the fluids the boat requires, including engine oil, transmission oil, coolant, hydraulic fluid for steering, thruster, and stabilizer systems, air-conditioning refrigerant, and anything else. Flush the cooling system and inspect or preventatively replace impellers.
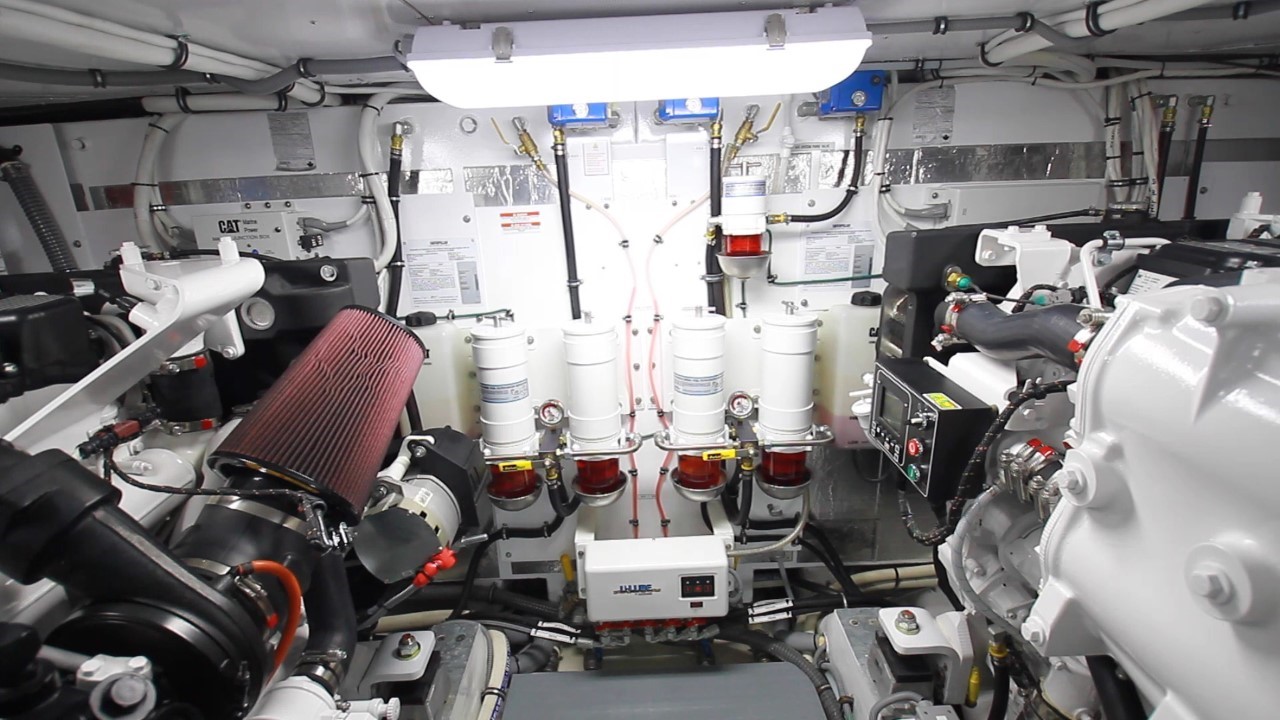
Set aside time for the batteries and switches. Inspect the terminals and posts for corrosion and clean them. Make sure the batteries are secured and can’t move. Fill the batteries with distilled water according to owner’s manual instructions if they are wet cells. Check the shore power cord and inlet, and all wiring for chafing or damage, and catalog the supply of spare fuses.
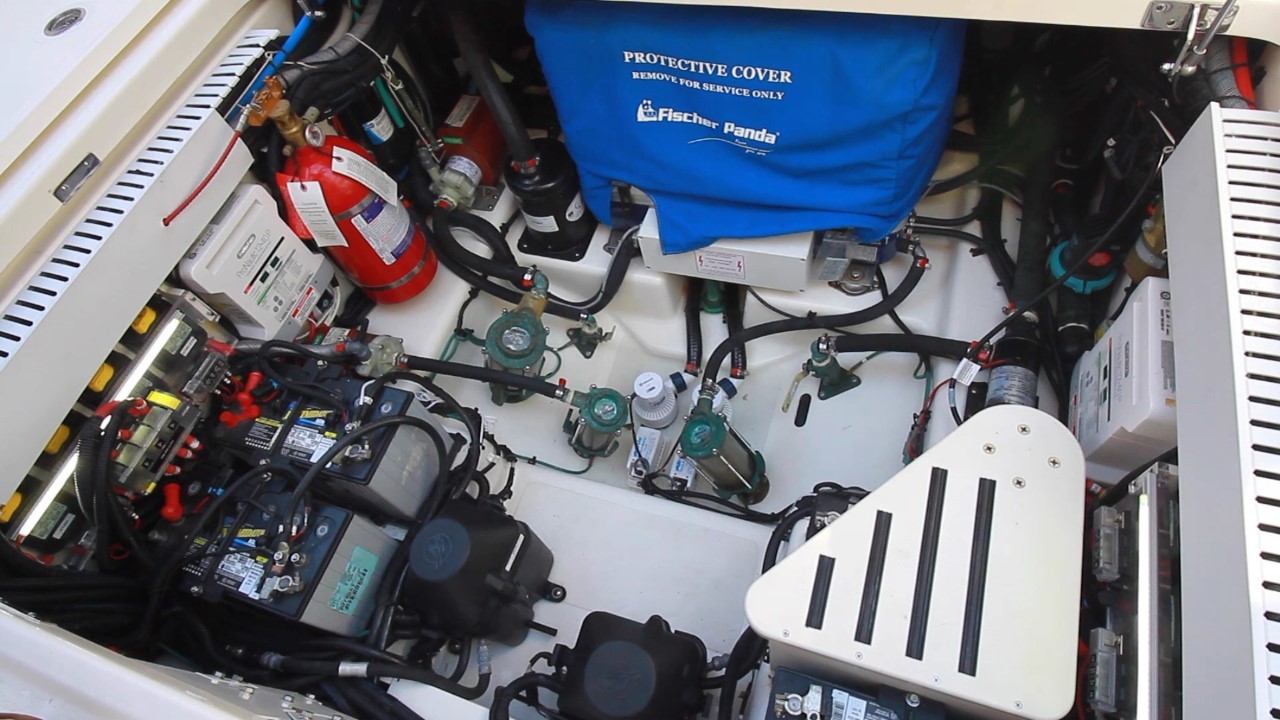
Fire Protection
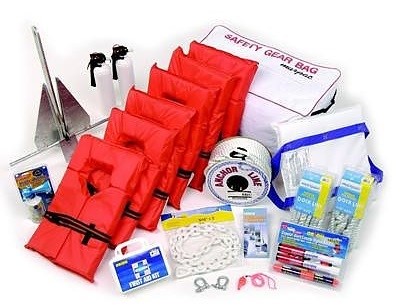
In reviewing your fire plan, learn how many and what kind of fire extinguishers are required by the Coast Guard for your class of vessel, and then double that number. Check the fire extinguisher service dates and pressure gauges each season, and have them serviced as needed. Instruct all crew in their use – Knowing how to use a fire extinguisher properly is critical. To better remember how to use a fire extinguisher, remember the acronym PASS: Pull the pin, Aim at the base of the fire, Squeeze the handle, and Sweep back and forth across the base of the fire. Generally, the fire extinguisher’s job is to smother the fire and cut off its oxygen supply. A dry chemical extinguisher discharges a white powder that prevents the fire from gathering oxygen. A CO2 extinguisher discharges carbon dioxide that displaces oxygen, starving the fire. The problem with the CO2 extinguisher is that people cannot breathe either, so it should be discharged into enclosed compartments from outside.
5- Fuel Lines
When inspecting fuel lines, look for leakage: It is not hard to spot, and will take the form of something as simple as a visible dripping to the discoloration of attachment fittings. Look below all fittings for signs of leakage. A dripping fitting has to go somewhere and down is the most logical location. A puddle underneath a fuel line should be cause for alarm and is certainly a reason not to start the engine.
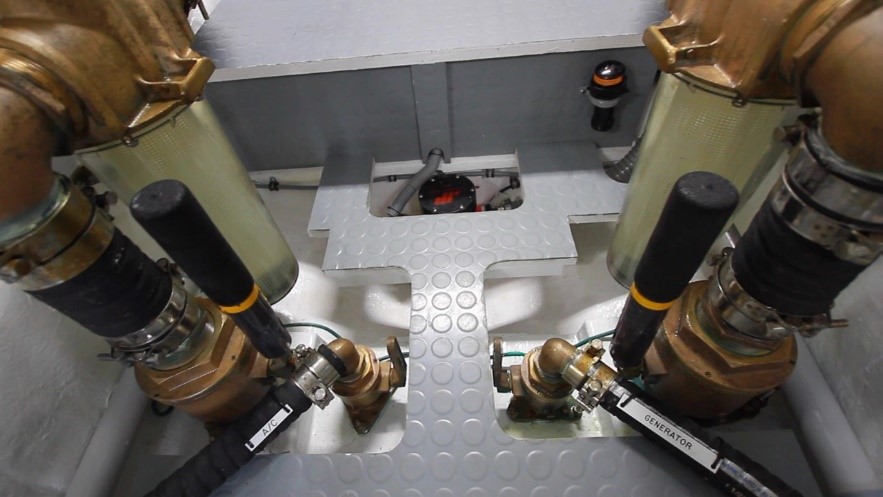
6- Thru Hulls
Finally, you already have large holes in the boat that need inspecting. Failed through-hull fittings can spell disaster so inspecting them and/or replacing them on your next haulout is good preventive maintenance. Check for cracks, leaks and corrosion, work the handles on the valves to make sure they don’t stick, and ensure you can get them closed in a hurry. Keep an appropriately sized wooden plug tethered to each handle and a mallet nearby to drive the plug into the hole in case a seacock fails. One company sells small foam cones that may be used instead of wood and can plug an irregularly shaped hole. Make a drawing or list of where all the through-hulls are located, including those serving the engines, heads, refrigeration, A/C units and more. Furthermore, if the manufacturer did not label what every hose is for, then this simple task falls to the owner with a label maker in hand.
Prevention Is Key
As a rule, parts do not fail overnight. They take a long time to reach the point of failure. There are always signs of this failure before it reaches a critical stage. The components will do everything they can to tell you of this failure, you still have to listen to what it’s trying to say. In other words, don’t ignore these components until they scream out in the form of a disaster. If that happens, the fault lies with the owner, not the component. It tried its best to tell everyone it was failing, and only a boater is to blame for not listening.